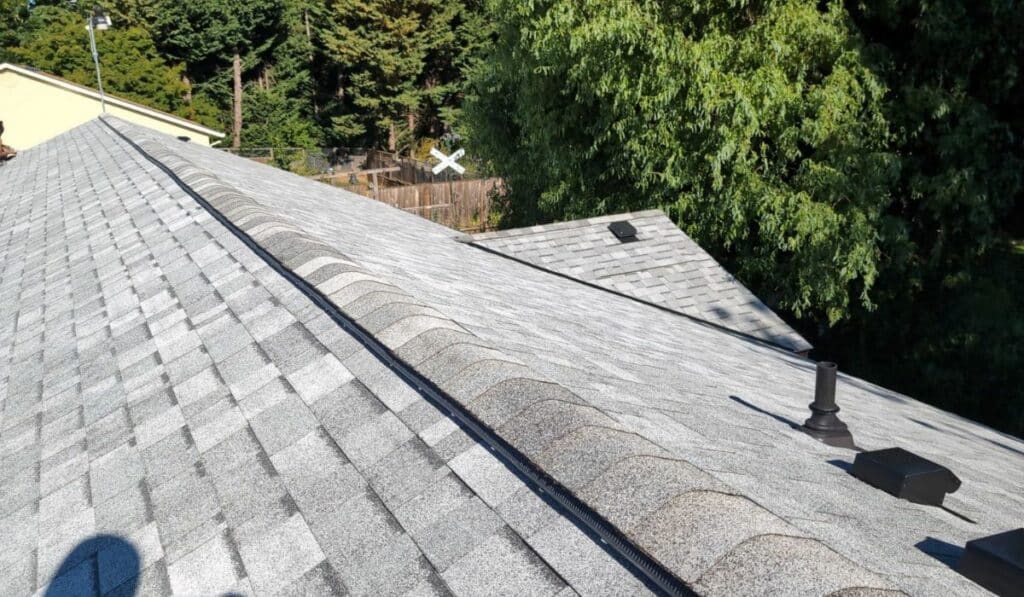
A solid roof is essential to protecting your home from the elements, and ridge cap shingles play a crucial role in ensuring your roof remains resilient and weatherproof. Not only do ridge cap shingles provide a line of defense at the roof peak, but they also add to the overall aesthetic appeal of your roof.
This guide will walk you through the steps to install ridge cap shingles, making sure your roof installation looks professional and withstands the test of time.

Ridge cap shingles, often referred to as hip and ridge shingles, are specialized shingles designed to cover the ridges and hips of a roof. Unlike standard shingles, they are crafted to fit over the roof’s peak sections and provide additional protection against wind and water infiltration.
| Feature | Ridge Cap Shingles | Regular Shingles |
| Purpose | Covers roof ridges and hips | Covers main roof body |
| Shape | Flexible, often pre-bent | Flat, rectangular |
| Size | Smaller sections | Larger, full sheets |
| Material Strength | Enhanced for peak coverage | Standard roof coverage |
Protection against wind and water entry: Ridge cap shingles seal the joints at the roof peak, preventing water and wind from penetrating and causing damage. Aesthetic appeal: They provide a finished look to the roof installation. Durability: Properly installed ridge cap shingles can enhance the longevity of your roof.
Ensuring a safe working environment is paramount. Use a safety harness, secure your ladder on a stable surface, and wear gloves and safety goggles.
Before beginning the roof installation, inspect the roof for any damage or issues that need repair. Ensure the surface is clean and dry.
Measure the total length of the roof ridge to calculate the number of ridge cap shingles required. Proper planning will guarantee a symmetrical and aesthetically pleasing finish.
While not always necessary, underlayment can provide an extra layer of protection. If you opt to use it, ensure it is laid flat and securely fastened.
Using a utility knife or roofing blade, cut ridge cap shingles to the required size. Pre-score the shingles for easier bending over the ridge.
Cutting Tips:
Positioning: Start at one end of the ridge or hip. Align the first ridge cap shingle so it overhangs slightly over the edge.
Nailing Technique:
Overlapping Shingles: Each subsequent shingle should overlap the previous one by about half its length. This overlap ensures that water runs off properly and does not penetrate the roofing ridge cap.
Working Progressively: Continue working your way along the ridge or hip, ensuring each shingle is properly aligned and securely fastened.
Once all ridge cap shingles are installed, inspect the roofing ridge cap for evenness and proper alignment. Make any necessary adjustments.
Apply roofing cement or adhesive to any vulnerable areas to prevent leaks.
Remove any debris or leftover materials from your work area. Properly dispose of old shingles and construction waste to maintain a clean environment.
Regular Inspections: Perform inspections bi-annually to check for damage or wear on your hip and ridge shingles.
Cleaning: Keep the roof clean to prevent debris buildup which can damage shingles.
Seasonal Considerations: Prepare your roof for extreme weather conditions by checking for loose shingles and ensuring proper adhesion.
Understanding and applying the correct techniques for installing ridge cap shingles can significantly enhance your roof’s durability and appearance. However, roofing can be a challenging task requiring precision and safety.
If you’re unsure about any step or would prefer professional assistance, contact us at IBEX Roof. WE'LL BE HAPPY TO INSTALL YOUR ROOF SHINGLES, ensuring your home is protected and looking its best for years to come.