When it comes to roofing, installing roof flashing correctly is an important step that is often missed. Understanding the right way to install roof flashing can make all the difference, whether you have a leaky roof or just want to make your roofing system last longer. This blog post will tell you everything you need to know about roof flashing, from the different kinds of flashing to how to install them and keep them in good shape.
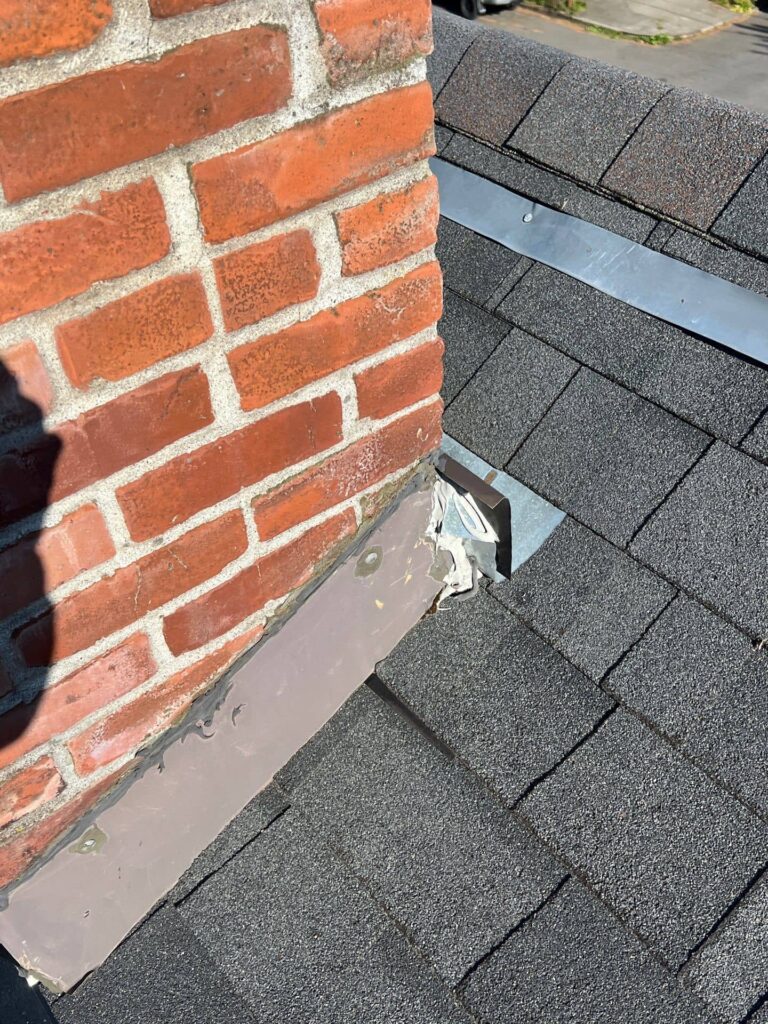
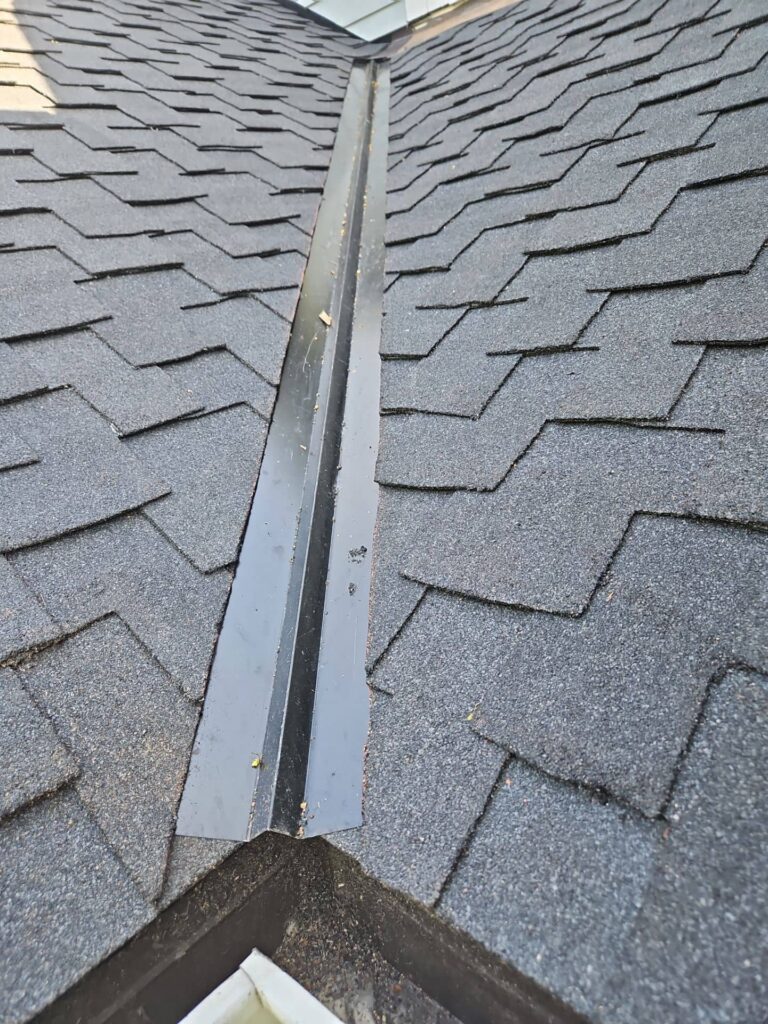
Roof flashing is a thin, waterproof material that is put on the edges, transitions, and joints of your roofing system to keep water out. It protects against water getting into weak spots and makes sure there is a watertight seal.
There are several types of roof flashing commonly used in roofing projects, including:
Proper installation of roofing flashing is essential for several reasons:
When it comes to flashing installation, using high-quality materials and following industry best practices is key to ensuring a durable and reliable roofing system.
Before you begin installing roof flashing, gather the following tools and materials:
Proper installation of roof flashing requires attention to detail and precision. Follow these steps to ensure a watertight seal:
| Steps | Description |
| Step 1: Preparation | Inspect the roof and identify areas that require flashing. Clean the surface and ensure it is free of debris. |
| Step 2: Cutting | Measure and cut the flashing material to the appropriate size and shape for the area you are flashing. |
| Step 3: Installation | Secure the flashing in place using roofing nails or screws. Ensure proper overlap and alignment with adjacent materials. |
| Step 4: Sealing | Apply roofing cement or sealant to seal the edges and seams of the flashing, creating a watertight barrier. |
| Step 5: Inspection | Check the flashing for any gaps or loose areas. Make any necessary adjustments to ensure a secure installation. |
To ensure the longevity and effectiveness of your roof flashing, avoid these common mistakes:
Regular maintenance is key to ensuring your roof flashing remains effective over time. Here are some tips for maintaining your roof flashing:
While some homeowners may opt for a DIY approach to flashing installation, hiring a professional roofer can offer several benefits:
Before deciding whether to tackle a flashing installation project yourself or hire a professional, consider the complexity of the job and your level of expertise in roofing projects.
In conclusion, proper roof flashing installation is a critical component of maintaining a watertight and durable roofing system. By understanding the various types of flashing, following the correct installation steps, and implementing regular maintenance practices, you can ensure your roof remains protected for years to come.
Remember, when it comes to your roof's health, investing in quality flashing roofing installation is a smart choice that can save you time, money, and hassle in the long run. Whether you opt for a DIY approach or hire a professional, prioritize the integrity of your roof flashing for a secure and leak-free home.
If you have any questions or need assistance with your roof flashing repair or installation, feel free to reach out to IBEX Roof for expert guidance and assistance.
They were very responsive to a couple of installation issues and followed through with the business philosophy of finding a solution that would work. Thanks Jeff for your work... read more
 Jerry Willey
I wont to thank all of the people that worked extremely hard on both in being honest and doing a great job, and in fast in have enough... read more
 Jody Koelling
Nick and Jeff E. were great. They both took the time to make sure we understood our options, answered our questions and we were able to make the best choice... read more
 Donavan Anderson
Good price for good work. Crew did full strip and reroof for our two story house in 2 days. Looked great when done. Important to work with a roofing company... read more
 Steve Wetterling
Jeff Eason did a fantastic job and found cost effective ways to avoid high costs
 John Bonomi Jr.
We actually stumbled across IBEX at the Tigard Festival of Balloons and scheduled a free estimate to have our roof cleaned. And I'm so glad we did! Miguel... read more
 Amanda Case
Jeff Eason, our project manager, made sure to handle our project with care and attention. He kept us in the loop of what was happening and was generous with providing... read more
 Rory Parsons
Jeff Eason took great care of me. He kept me up to date each step of the way. I added gutter replacement to my reroofing job and have me regrets!... read more
 Michelle Huffman
Jeff Eason project manager did a wonderful job and gave me the best deal on gutters
 Allen Kosin
Jeff Eason and his crew are professionals who care about the customer. He and his crew arrived promptly at scheduled times. The crew worked efficiently and the roof was installed... read more
 Laura Guerra